
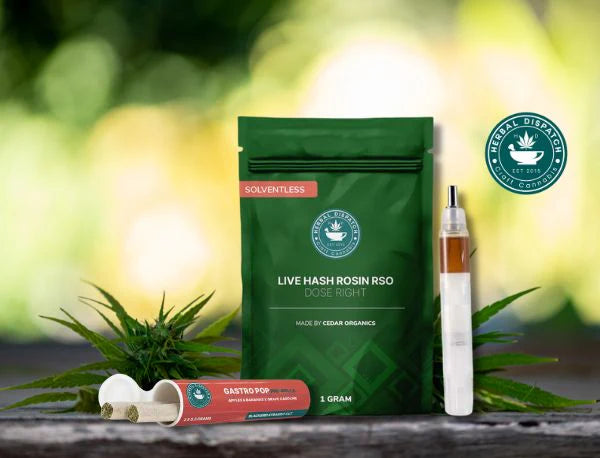
Canada's premier online dispensary for small-batch cannabis
Experience Craft Cannabis Like Never Before
New Products

- Regular price
- $31.95
- Sale price
- $31.95
- Regular price
-

- Regular price
- $8.95
- Sale price
- $8.95
- Regular price
-

- Regular price
- $17.95
- Sale price
- $17.95
- Regular price
-


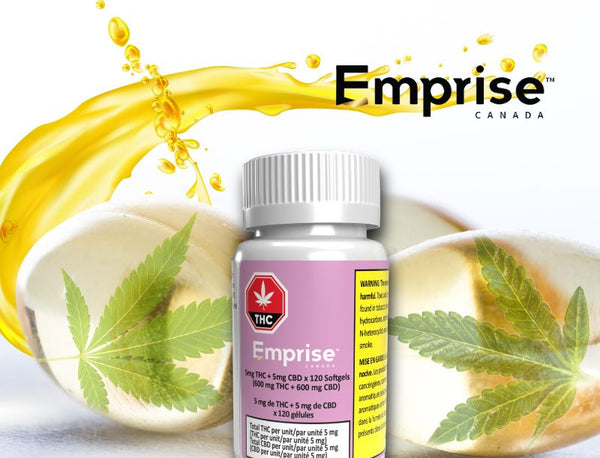
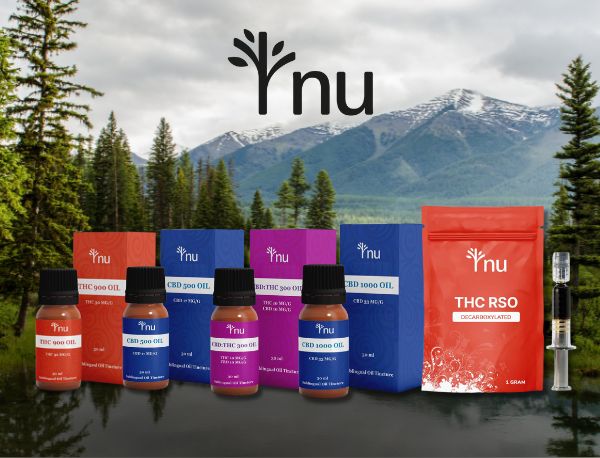
Featured Brands


A Legacy Rooted In Craft Cannabis
Since 2015, Herbal Dispatch has been leading the charge for craft cannabis in Canada. Our mission is simple: to provide our members with access to the best quality, small-batch cannabis in Canada.

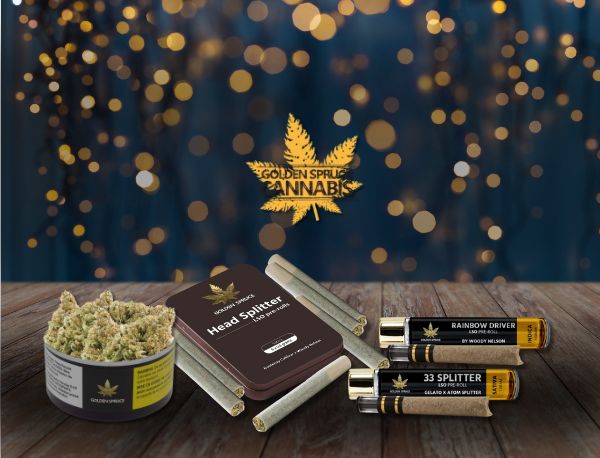
Featured product
Golden Spruce Cannabis
Rainbow Dancehall Pre-Rolls


This Living Soil Organic collaboration between Woody Nelson's Rainbow Driver and Coast Mountain Cannabis' Dancehall CBD strains delivers a hybrid experience that is perfect for any time of day. Contains: 6 x 0.5 grams
- Regular price
- $24.95
- Sale price
- $24.95
- Regular price
-
$29.95 - Unit price
- per
Brands We Love


Best Sellers

- Regular price
- $29.95
- Sale price
- $29.95
- Regular price
-
$39.95

- Regular price
- $29.95
- Sale price
- $29.95
- Regular price
-
$39.95

- Regular price
- $29.95
- Sale price
- $29.95
- Regular price
-
$39.95


Blog

#123: The Secret to Better Bud:
Why Post-Purchase Curing Matters
So, you've picked up a fresh stash—perhaps from Herbal Dispatch—and you're excited to dive in. The aroma is there, the buds look promising, and the trichomes are sparkling. But then you notice: the flower feels a little dry. Or maybe a bit too moist. Either way, you know something isn't quite right.
What can you do to improve the quality of your newly acquired dried flower? That’s where post-purchase curing comes in—a step many overlook but one that can seriously level up your cannabis experience.
Curing cannabis isn’t just for growers. It’s an essential, easy-to-do process for anyone who wants to refine the quality and flavour of their stash. Let’s examine why post-purchase curing matters, how to do it, and what to avoid along the way.
Good bud takes time—here’s why

Curing is the slow aging of cannabis buds under controlled humidity and temperature to enhance their chemical profile. Curing breaks down chlorophyll (reducing grassy taste) and preserves terpenes, the volatile compounds responsible for unique scents and flavours.
While growers typically begin this process after drying, your buds might not have received the royal treatment before hitting the shelves. Why take the time to cure it yourself?
Flavour & aroma boost: Curing breaks down chlorophyll and stabilizes terpenes, giving you more nuanced flavour and scent.
Smoother smoke: It removes residual sugars and starches that make hits harsh on the throat.
Preserved potency: Properly cured cannabis retains cannabinoids longer, offering a better, more balanced high.
Mould prevention: Dialling in the humidity keeps your stash safe from microbial growth.
In short, curing post-purchase is about giving your cannabis the respect it deserves—and unlocking its full potential. Here's how to do it:
Step 1: Assess the moisture level
Start with a quick touch test. If the buds feel brittle and crumble easily, they’re likely over-dried, meaning terpenes and cannabinoids have already taken a hit. On the other hand, if they feel damp or spongy, they could be at risk of mould.
Your goal? Achieve a relative humidity (RH) between 55–65% inside your storage container. This range is the sweet spot for a proper cure.

Step 2: Ditch the plastic, embrace the glass
Plastic bags or containers may be convenient, but they’re no friends to quality cannabis. They trap moisture unevenly, leach odours, and offer little protection for terpenes.
Instead, transfer your buds to airtight glass mason jars, filling them about ¾ full. This leaves enough space for air circulation and prevents compaction.
Bonus tip: Label your jars with strain name and date—especially helpful if you're curing multiple batches.
Step 3: Keep an eye on humidity
Slip a digital hygrometer into each jar to monitor the internal RH. You can purchase a hygrometer at most hardware or gardening stores for a relatively low cost.
Above 65%: You’re in the danger zone for mould. Open the jar and let the buds air out for 12–24 hours.
Below 55%: Toss in a Boveda 62% humidity pack (or similar) to gently rehydrate.
Check the readings daily during the first week. Once RH stabilizes in the ideal range, you're in good shape.
Step 4: Burping—yes, it’s a thing

“Burping” refers to opening the jar briefly to release built-up gases and refresh the oxygen inside. It’s critical during the early curing stages.
Week 1: Burp your jars 1–2 times per day for 5–10 minutes at a time.
Week 2: Burp your jars every other day for 5–10 minutes at a time.
Weeks 3 & beyond: Once per week is typically adequate. After the first month, you can begin to burp your stash once every couple of weeks. The entire process becomes less critical as curing progresses.
Burping not only helps release excess gases, but it also ensures that fresh oxygen is reaching the buds. This allows for proper microbial growth and prevents mould from forming. Without burping, the jar can become an environment ideal for mould and bacteria to thrive in, leading to ruined flowers.
Step 5: Set the scene—cool, dark, and consistent
Like vampires and fine wine, cannabis hates light and heat. Store your curing jars in a cool (60–70°F), dark place—think a cupboard, drawer, or closet.
Avoid windowsills or near electronics that emit heat. UV light can degrade cannabinoids, and fluctuating temperatures can wreak havoc on moisture levels.
Step 6: Curing timeline—how long is long enough?
While you can start noticing improvements in as little as 2–4 weeks, extending the cure to 2–6 months deepens complexity, smoothness, and potency. Patience really does pay off.
After curing, keep your jars sealed and stored in that same cool, dark environment. No need to refrigerate—fluctuating temperatures can cause condensation, increasing mold risk.
If stored properly, cannabis can stay potent and flavorful for 6 months to 1 year—and even longer (up to 2 years) under ideal conditions.
Troubleshooting your cure

Even with the best intentions and following all the steps and tips, sometimes things can go sideways. Here's how to get back on track if you run into issues during the curing process:
Too wet: Buds feel spongy or emit a funky smell? Spread them out on a tray for 12–24 hours before re-jarring.
Too dry: Add a humidity pack or try temporary rehydration with a citrus peel, lettuce leaf, or moist paper towel—just watch closely and remove within a few hours to prevent mould.
Flavour still off: Some terpene loss can’t be reversed, but rehydrating can enhance what’s left. Going forward, cure immediately upon purchase if dryness is evident.
Let’s be clear: rehydrating or curing cannabis doesn’t raise THC levels. What it does do is improve how your cannabis feels, tastes, and smokes. You'll get a better burn, fuller flavour, and smoother hits.
Post-purchase curing is self-care (for your bud)
Just because cannabis is packaged and sold doesn't mean that it’s ready to go. The truth is, many retail-ready buds could use a little TLC—some post-purchase curing—to reach their full potential.
Taking the time to cure your flower at home ensures you're getting the best from your purchase. It’s a small effort with a big reward: cleaner flavour, stronger aroma, and a more enjoyable smoke every time.
Think of it like decanting a bottle of wine or aging a good cheese. Your cannabis deserves the same care and attention to detail. Treat your flower with patience, and it will reward you with an experience that's truly worth savouring.


Membership Has Its Privileges
As a member, you will enjoy receiving:
Already a member? Login here


